Enjoy this delicious Vanilla and Raspberry Doughnut recipe from my Toronto friend and recipe-extraordinaire Priscilla from Pure Sprinkles. Check out her blog and Instagram Page, if you're interested in gluten-free recipes with STUNNING photography.

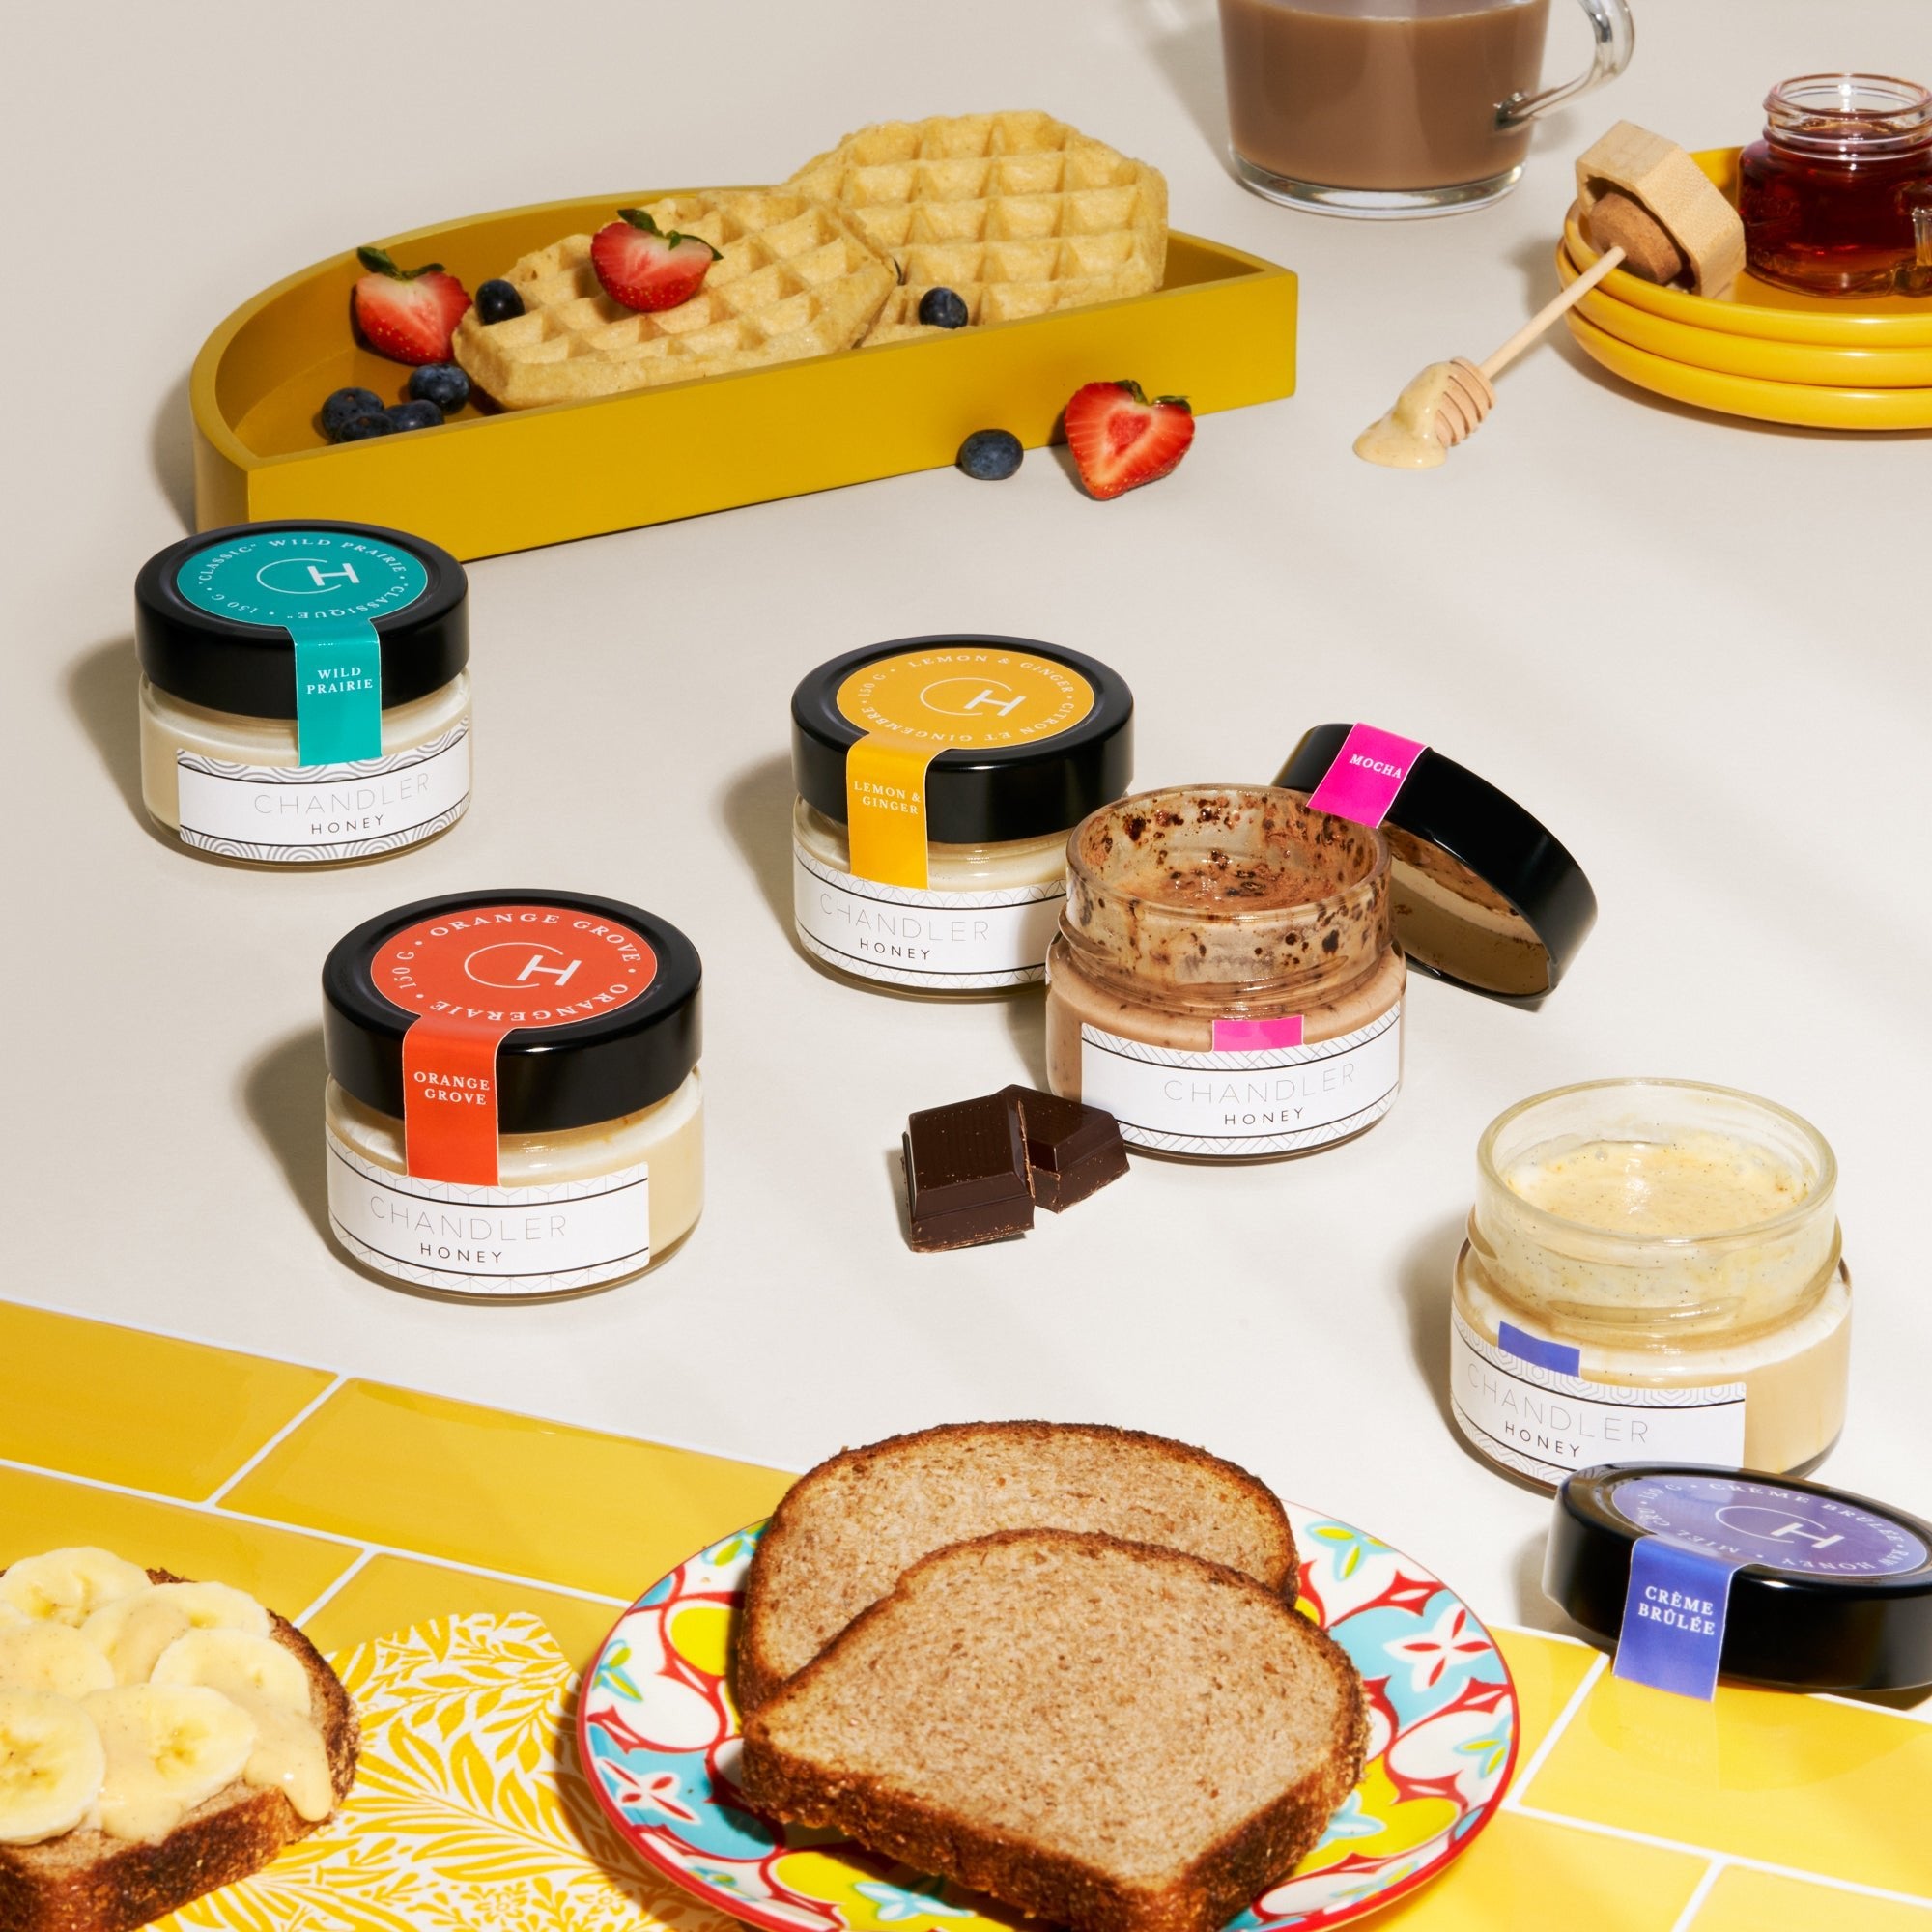
These Vanilla and Raspberry Doughnuts are a delightful, guilt-free sweet treat made with wholesome ingredients and naturally sweetened with Chandler Honey's Créme Brûlée Honey. Bonus is they are gluten-free, dairy-free, and baked not fried. What's not to love?
INGREDIENTS
Vanilla and Raspberry Doughnuts
Dry
- ½ cup oat flour
- ½ cup almond flour
- 1 tsp baking powder
- pinch of sea salt
Wet
- 2½-3 tbsp Chandler Honey Créme Brûlée Honey** (if the honey is really thick, loosen with ½ TBSP of warm water)
- 1 tbsp coconut oil, melted (room temperature)
- 1 egg
- ¼ cup almond milk (or plant-based milk/milk of choice)
- 1 tbsp vanilla paste (or pure vanilla extract)

Equipment
- 6 cavity doughnut pan
- 12 cavity mini doughnut pan
- measuring cups & spoons
- metal spoons
- whisk
- silicone spatula
- cooking spray (I used coconut oil, or you can use any cooking spray of choice)
- small and large stainless bowls (or ceramic or heavy-set glass bowls)
- bowls (for the glaze)
- sifter (for the glaze)
- parchment paper
- toothpicks

Raspberry Glaze
- 1-2 tbsp Easy Raspberry Syrup or raspberry liquid*** (add according to the consistency of glaze you desire)
- ½-1 tbsp almond milk*** (or plant-based milk/milk of choice)
- ½ cup powdered sugar
Vanilla Glaze
- ½ tsp Chandler Honey Créme Brûlée Honey**
- 1-2 tbsp almond milk*** (or plant-based milk/milk of choice)
- ¼ tsp pure vanilla extract (optional)
- ½ cup refined sugar-free powdered sugar (or icing sugar)
Decorations
- sprinkles (optional but highly recommended)


INSTRUCTIONS
NOTE: I use my Easy Raspberry Sauce, Easy Raspberry Syrup /Pulp Recipes for these tasty bites. Please hop over to the Easy Raspberry Sauce recipe for steps on how to make it.
Vanilla and Raspberry Doughnuts
- Combine all dry ingredients, oat flour, almond flour, baking powder, and sea salt in a small bowl. Set aside.
- In a large bowl, whisk together the Chandler Honey Créme Brûlée Honey with the almond milk (which will help loosen up the honey), then add the rest of the wet ingredients, coconut oil, egg, and vanilla paste. Whisk until everything is well combined.
- Slowly add the dry ingredients to the wet ingredients and whisk until well combined and the batter is nice and smooth. The thickness should be like pancake batter. Thick, but still slide off your spoon. Let it sit for a couple of minutes.
- Preheat the oven to 350 °F
- Spray doughnut trays with cooking spray. Wipe access oil with a paper towel.
- Spoon the batter into the doughnut tray, 2 TBSP worth of batter in each cavity, roughly ¾ filled. It should not surpass the circular hole in the middle. Do not be tempted to add more, as it will close up the doughnut hole once baked. If that does end up happening, I have a trick on how to remedy that in the notes below.
- Now it's time to add the Raspberry Pulp. Add ¼ tsp to the batter around each doughnut cavity and then again for a total of ½-1 tsp of Raspberry Pulp (adjust to your liking). Gently swirl it into the batter with a toothpick to create a marble effect (it will look really pretty once baked!). Once done, gently shake the tray to even out the batter. Place in oven to bake.
- Bake doughnuts for 15-16 minutes or until lightly golden brown. Be sure to do the toothpick test. Once it comes out clean, you are good to go. Just be sure to keep close on them to ensure you don't overbake.
- Remove from the oven and let it cool for 5 minutes. Once cooled, remove them from the doughnut pan and place them on a wire rack, plate, or platter to cool down completely.
- You will have some batter leftover, which can be used to make Mini Doughnuts.
Mini Doughnuts
- For Mini Doughnuts, add ½ tbsp of almond milk to leftover batter and mix. Pour 1 tsp of batter to each mini doughnut pan cavity, and gently spread the batter evenly.
- Bake for 10 minutes or until lightly golden brown. Let it cool and remove it from the pan.

The Vanilla and Raspberry Doughnuts are done and ready to enjoy! These doughnuts aren't as fluffy as the fried, all-purpose flour-based doughnuts, but I can assure you will not miss the fried ones one bit. They are oh so tasty plain, but you can jazz them up for a next-level doughnut experience. Check out my delicious glazing options below to give these full doughnut status glory!
Doughnut tip: If you add too much batter and your doughnut hole closes, not to worry. A quick trick to remedy it is to use an apple corer or a bottle cap that is the size of the hole, press through gently, and voila, problem solved!

Raspberry Glaze and Vanilla Glaze
These Raspberry and Vanilla Glazes are the perfect pairing for your freshly baked Vanilla and Raspberry Doughnuts. They are simple to make and add an extra layer of flavour to these tasty treats.
Raspberry Glaze
- Sift the powdered sugar. Please do not skip this step, or the glaze will have clumps. Mix 1-2 tbsp of Raspberry Syrup (a little at a time) into the powdered sugar slowly until well combined and you get the consistency you desire. If you want it looser, add a little more raspberry sauce and almond milk (or milk of choice) until you get the desired consistency.
Vanilla Glaze
- Similar to the Raspberry Glaze, sift the powdered sugar. Add Chandler Honey Créme Brûlée Honey, vanilla extract, and almond milk into the powdered sugar and mix until you get the desired consistency.
How to Glaze
Now for the fun part, we glaze our doughnuts, woot woot!
You have two options: you can dip or spoon the glaze over the doughnuts. The choice is yours. I highly recommend using a thicker glaze to spoon over and a thin glaze for the dipping method.
Spooning Method - Thick Glaze:
• Spoon glaze over the doughnut, creating a thick blanket of yummy glaze over your doughnut. You can control how much you want to add. Then set on wire rack or plate to set.
• This glaze longer to set to get that hardened finish. The best way to achieve that is to let it set in the fridge for a few hours.
Dipping Method - Thin Glaze:
• Dip face down, and after a few moments, pull out and allow the access glaze to drip off. For complete coverage, use a spoon, shower the glaze over the doughnuts, and lift it out with a spoon or fork. Set it on a wire rack with some parchment paper underneath to catch the drippings for about 10-15 minutes. Then repeat the steps until you get the coverage you desire.
• Gives you the same beautiful, glossy sheen look as traditional, store-made, fried doughnuts.
So go ahead and have fun with it. Each method turns out amazing!
After Glazing
- If you want to take things to another level, you can decorate them with some fun sprinkles! Be sure to add them while the glaze is still wet or they won’t stick.
- Once you are done, let it set at room temperature for 1-2 hours to harden. If you can't resist (trust me, it is no easy feat to wait), feel free to eat them just as! If you want the glaze to harden faster, place them in the fridge for a couple of hours.
- All that's left to do is devour these delightful Vanilla and Raspberry Doughnuts, enjoy!
NOTES
* YIELDS 6 DOUGHNUTS + 12 MINI DOUGHNUTS
** Chandler Honey Créme Brûlée Honey uses glorious, unpasteurized, raw honey, which means the flavours are concentrated and a little goes a long way. Plus, we are sweetening up the doughnuts with the glaze, so we don't need a lot of sweetness. But feel free to adjust to taste by adding a little less or more depending on what you fancy best.
*** For these proportions, use according to the consistency of the glaze you desire.
GLAZE NOTE: The glaze hardens very quickly but not to fret, if that happens just add a little more almond milk, and it will loosen up again and be good to go!
STORAGE
UNGLAZED DOUGHNUTS/MINI DOUGHNUTS: Place in the fridge covered in plastic wrap or a glass container with a lid for up to 2-3 days, unglazed, and stored in the freezer for up to a month in a zip-lock bag or freezer-safe container.
GLAZED DOUGHNUTS/MINI DOUGHNUTS: Place in the fridge in a glass container with a lid for up to 1-2 days (if they last that long!). You can freeze them as well. Place them on a tray and freeze for 1-2 hours until the glaze hardens. Then store them in a zip lock bag for up to 2 weeks.
GLAZE: I actually don't recommend storing the glaze. It hardens and is not great to work with after some time, so it is best to make it fresh. Instead, create one batch at a time and if you need more, just make another batch.
BATCH BAKING: Want more doughnuts? Not a problem! Just double up the recipe and you'll have more doughnuts in no time.


Leave a comment